Christmas is the perfect time of year to get crafting! Homemade gift tags are a great way to add a unique personal touch to your gifts, and with just a few festive stamps and some brightly coloured ink, you can create a number of beautiful designs.
If you’ve got an hour or two spare this weekend, why not cut out some tags from spare card lying around the house, get some ink or paint out and get creative? Children will love using bright colours and tactile stamps (either shop-bought or homemade potato stamps) to make special gift tags for the ones they love. For teenagers and adults, try using lovely festive stamps like these ones at Hobbycraft, on Etsy or by East of India with stamping ink from a craft shop or Hobbycraft.
1) Work out the number of tags you will need to make (we’d suggest making a few extra just in case)
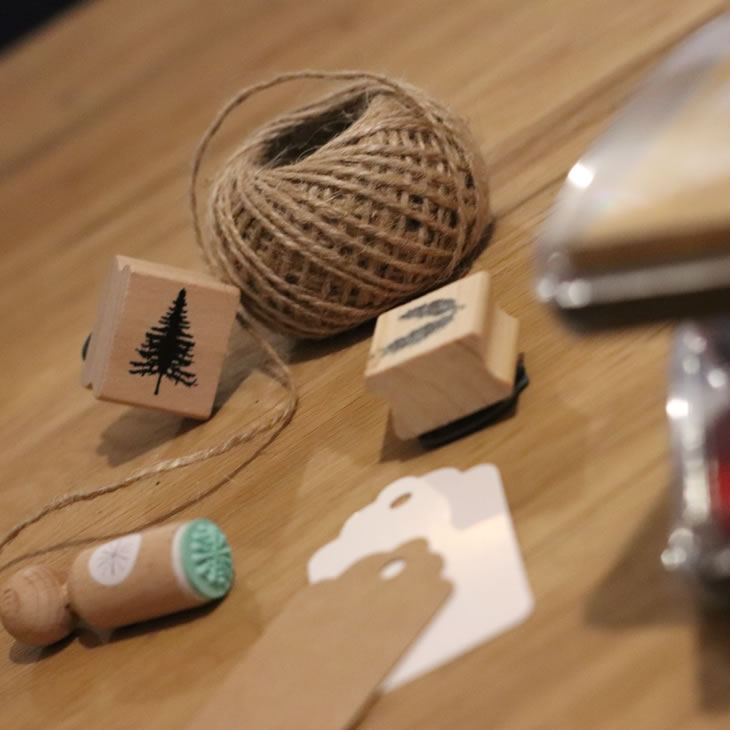
2) Buy or cut out some card tags in a rectangular shape, about 8cm x 4.5cm in size. If cutting your own tags, carefully cut or punch a hole into the top of your tag (ready to tie your tag onto your gift of choice).
3) Spread some newspaper across a large flat surface to avoid any spillage disasters…
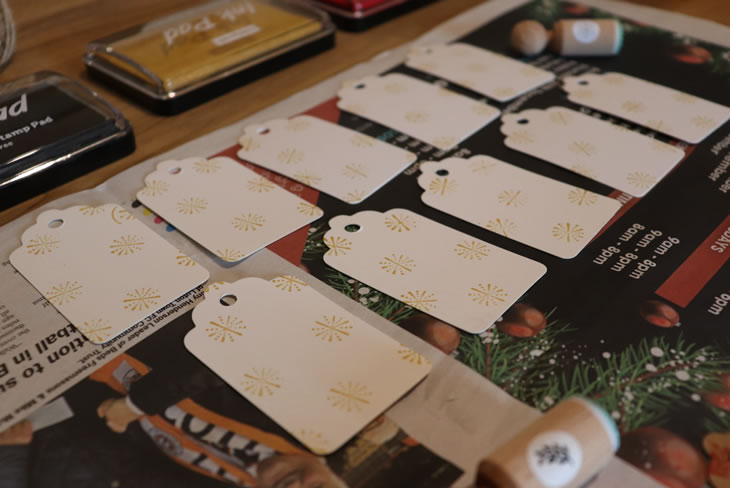
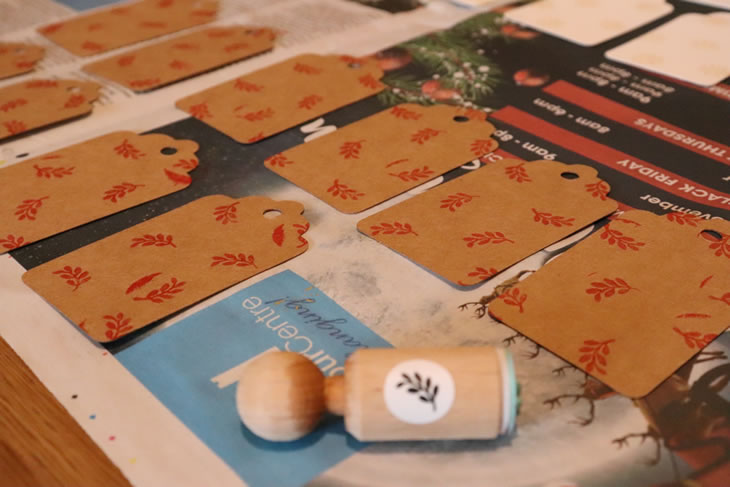
4) Lay your tags out beside one another on the newspaper so that you can set up a bit of a production line. This will help make the process a bit faster if you’re pushed for time.
5) Pick your stamp of choice and favourite ink colours (think white and gold, red and green, or metallic and black), and practice using the stamp on a spare piece of card to see what kind of look you want to achieve (minimal or patterned, layered or multicoloured, traditional or modern, etc.)
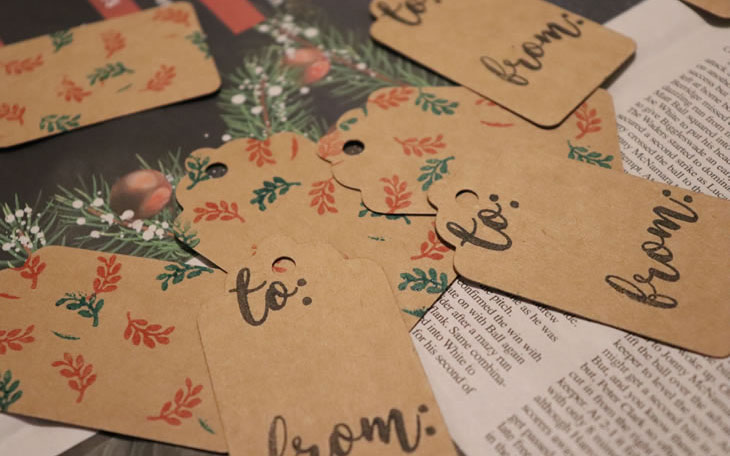
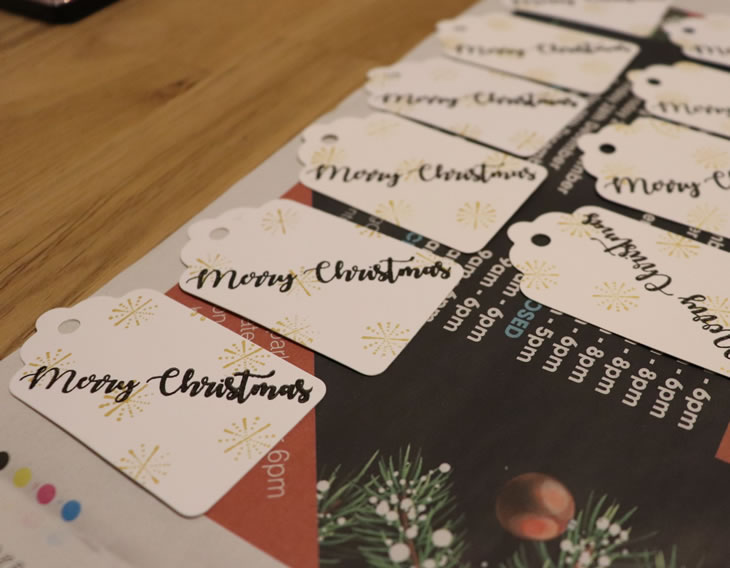
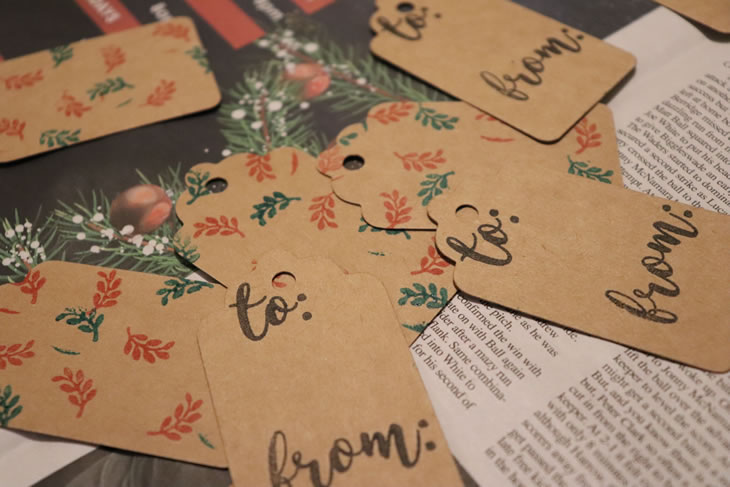
6) Press your stamp into your chosen ink/paint, and carefully stamp your tags with your pattern of choice – or freestyle it for totally unique tags. We tried two styles – a golden snowflake pattern on white card with ‘Merry Christmas’ stamped in black across the top, and a more traditional red and green leaf pattern on rustic kraft card.
7) Note: if you opt for a multi-coloured or layered pattern, stamp the tag with one colour/layer first, before washing your stamp and waiting for the ink to dry, and then starting to stamp the new layer or colour. This will avoid any smudging.
8) When you’ve finished stamping your design, leave your tags for at least an hour until they are fully dried, before turning over onto their front so that you can write (or stamp) the tags with “To:”, “From:”, and yours & your recipients’ names.

9) Leave the stamps to fully dry before tying with some rustic string or festive red or gold ribbon onto your gifts. Ta-da!
Don’t feel you have to stop at tags – with some larger-sized stamps you can make your own beautiful homemade cards, or even make unique homemade wrapping paper on plain kraft paper for a sophisticated, coordinated look.
We’re signing off for the holidays now, so wishing you all a very merry Christmas and a Happy New Year from the K&M team! x